
With my purchase of CoC I decided I was finally going to have to acquire a good selection of hedging to represent the bocage on my wargames table.
There are a good many commercially available examples.....but all share the same feature.....They're very expensive!
So my hand was forced....I'd have to make my own. And as this was going to be a first for me I thought I'd let you share my experiences.
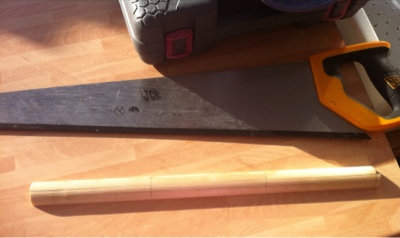
The first step was to select some wood to make the earth banks. I was looking for something like a broom handle cut in half lengthways, but I failed dismally in my quest.

The best I could come up with was 1/4 round beading about 12mm radius. I bought a piece about 900mm long for £1.50 from our local B&Q and cut it in half before gluing the two halves lengthways and clamping while it dried overnight.


Some time back my son bought me an aerosol can of Camo Brown paint from Halfords. I was saving this to use for my Zulu's base coat, but needs must, this was perfect as a base coat for bocage hedges too!

Once dry they were dry brushed with Vallejo Buff to pick out the texture of the sand.


See you in part two.
No comments:
Post a Comment